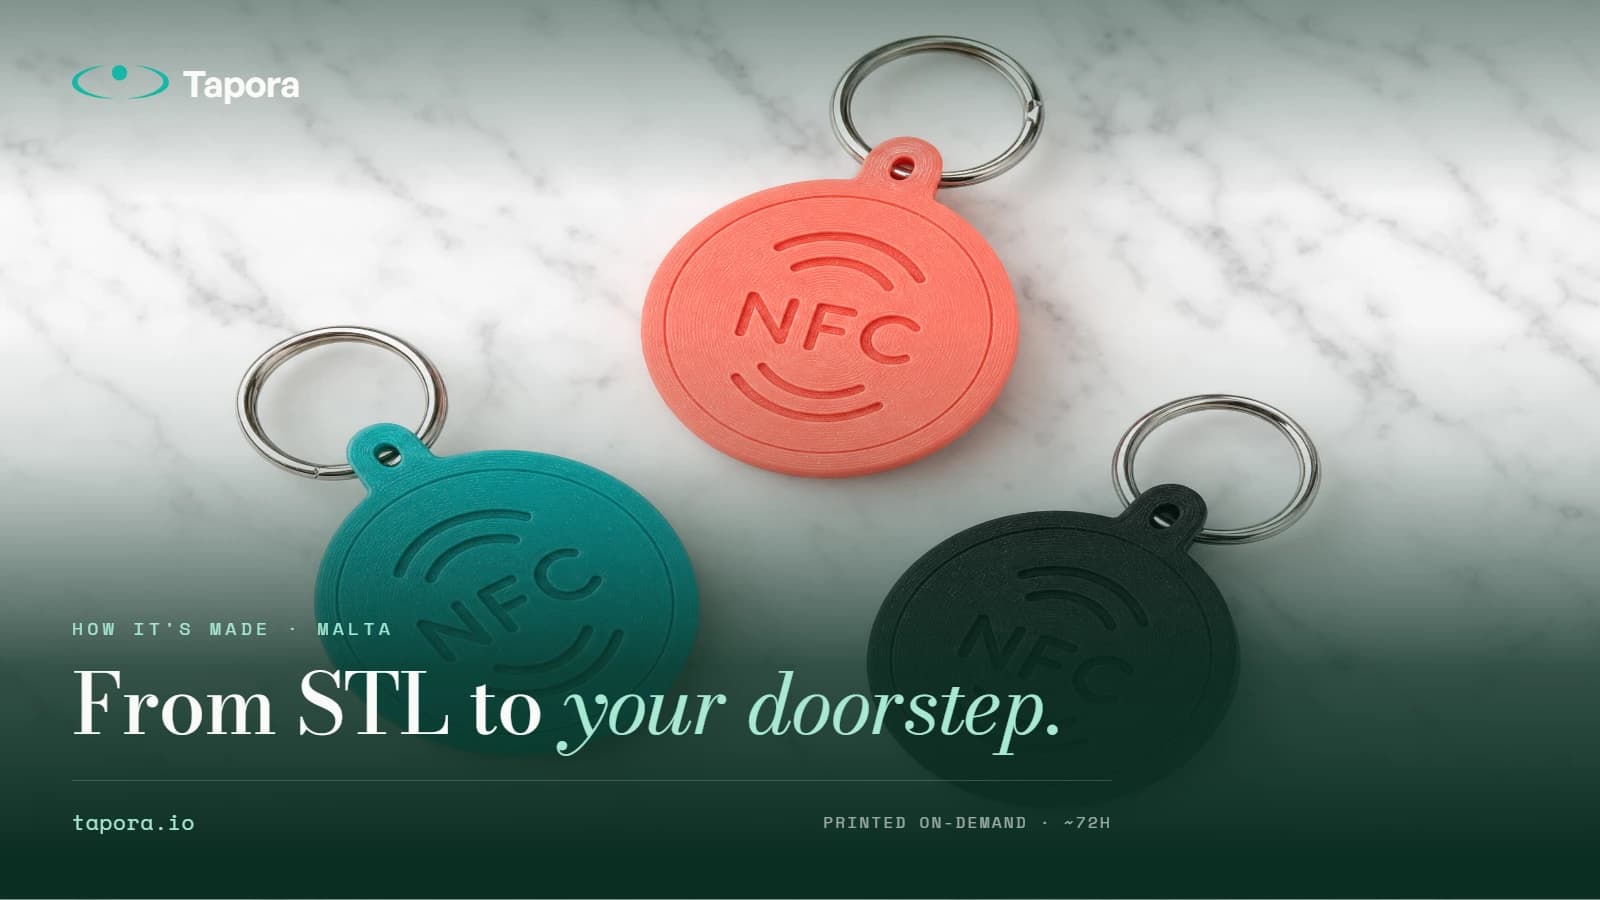
From STL to Doorstep: How a Tapora Keychain Gets Made
Every Tapora keychain is printed on-demand in Malta, embedded with an NFC chip, programmed with a unique short URL, and shipped — usually within 72 hours of the order. Here's exactly what happens between "checkout" and "doorstep", because the details are how we keep quality hi…
By Tapora team
Every Tapora keychain is printed on-demand in Malta, embedded with an NFC chip, programmed with a unique short URL, and shipped — usually within 72 hours of the order. Here's exactly what happens between "checkout" and "doorstep", because the details are how we keep quality high without holding inventory.
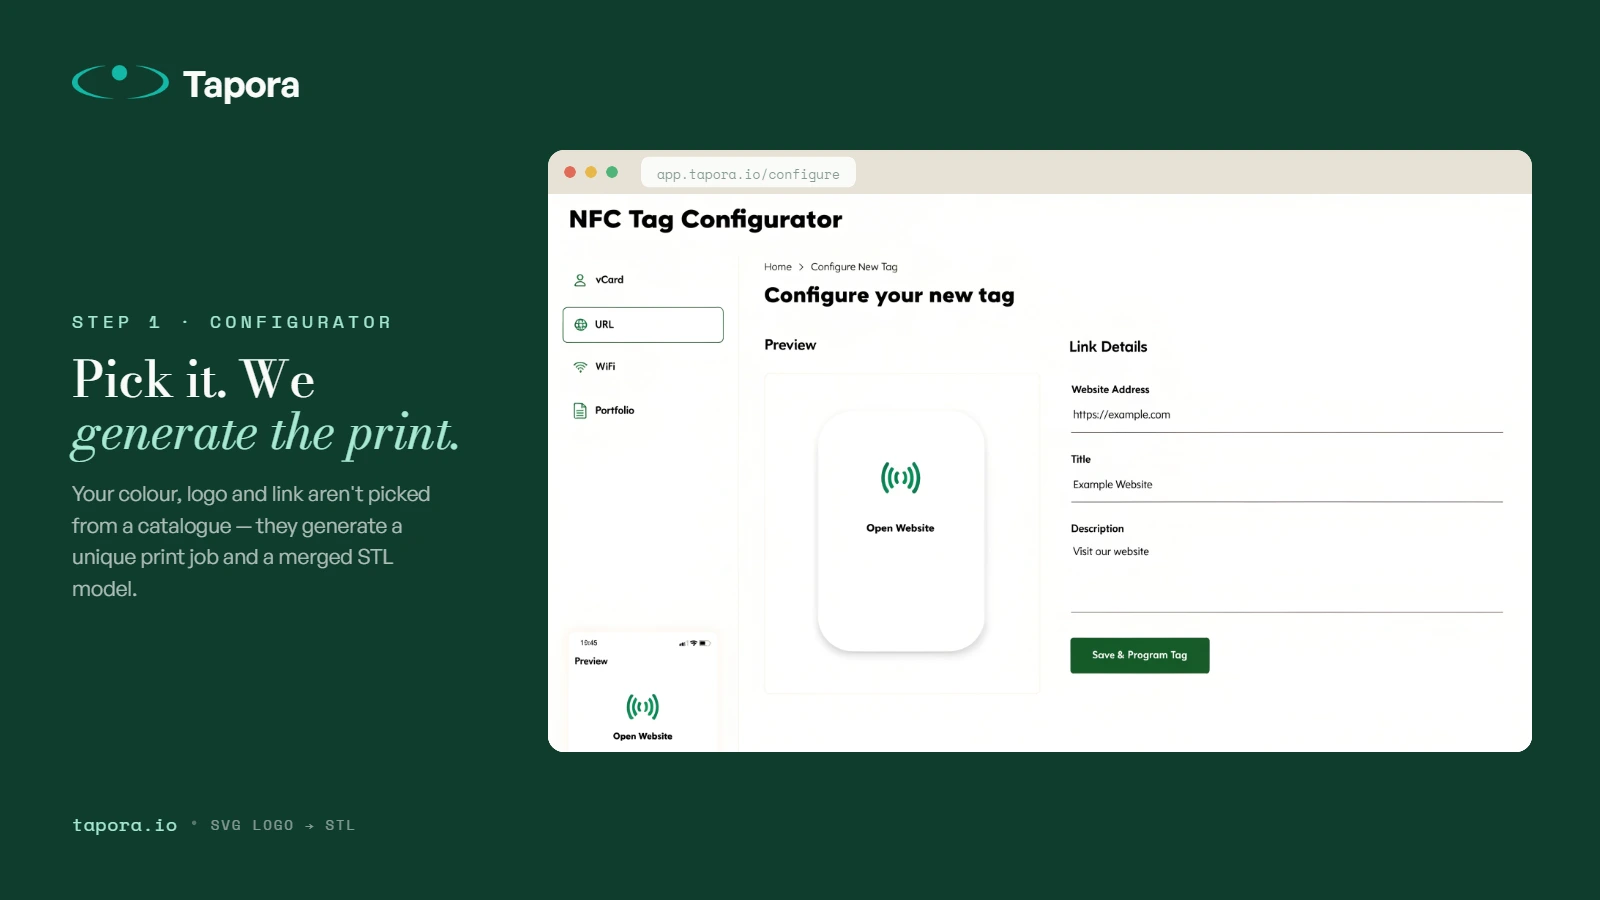
Step 1: configurator → STL
When you pick a base colour, a logo, and a quantity in the product configurator, you're not picking from a catalogue — you're generating a print job. Your chosen SVG logo gets embedded into a base STL model at a precise Z-height (the colour-change layer), producing a merged 3D model unique to your order.
Step 2: slicing with OrcaSlicer
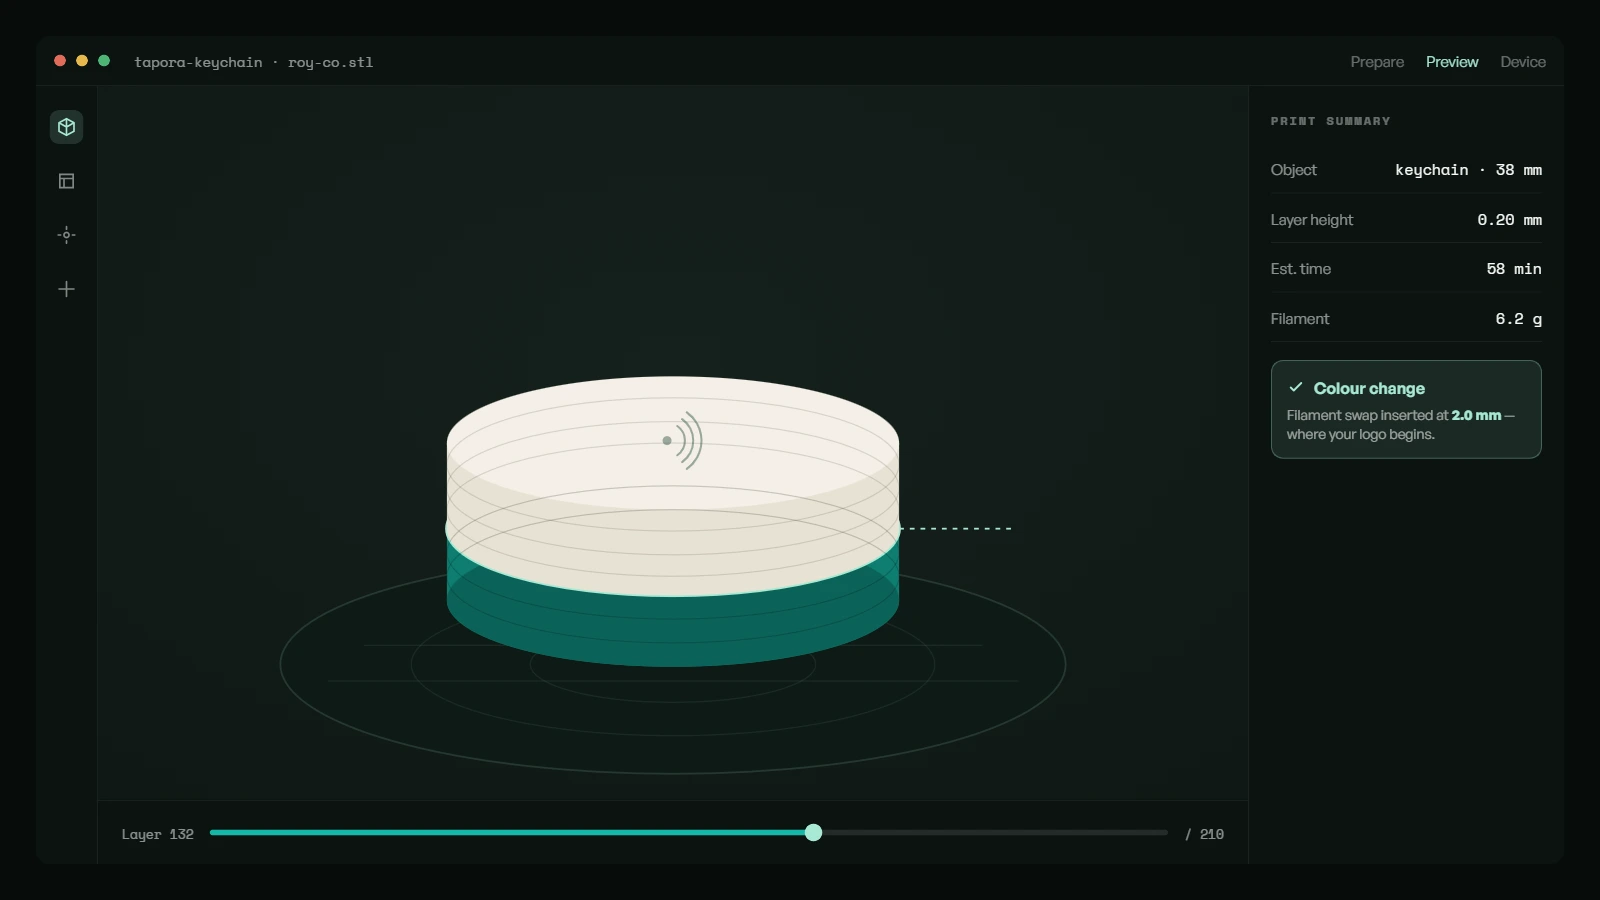
The merged STL is sent to our slicing service, which runs OrcaSlicer against a printer-specific profile. The slicer converts the 3D model into G-code — the millimetre-by-millimetre instructions the 3D printer follows. Critically, the G-code includes a colour change command at the exact layer where your logo begins, so the printer pauses and prompts for a filament swap.
Step 3: batch grouping
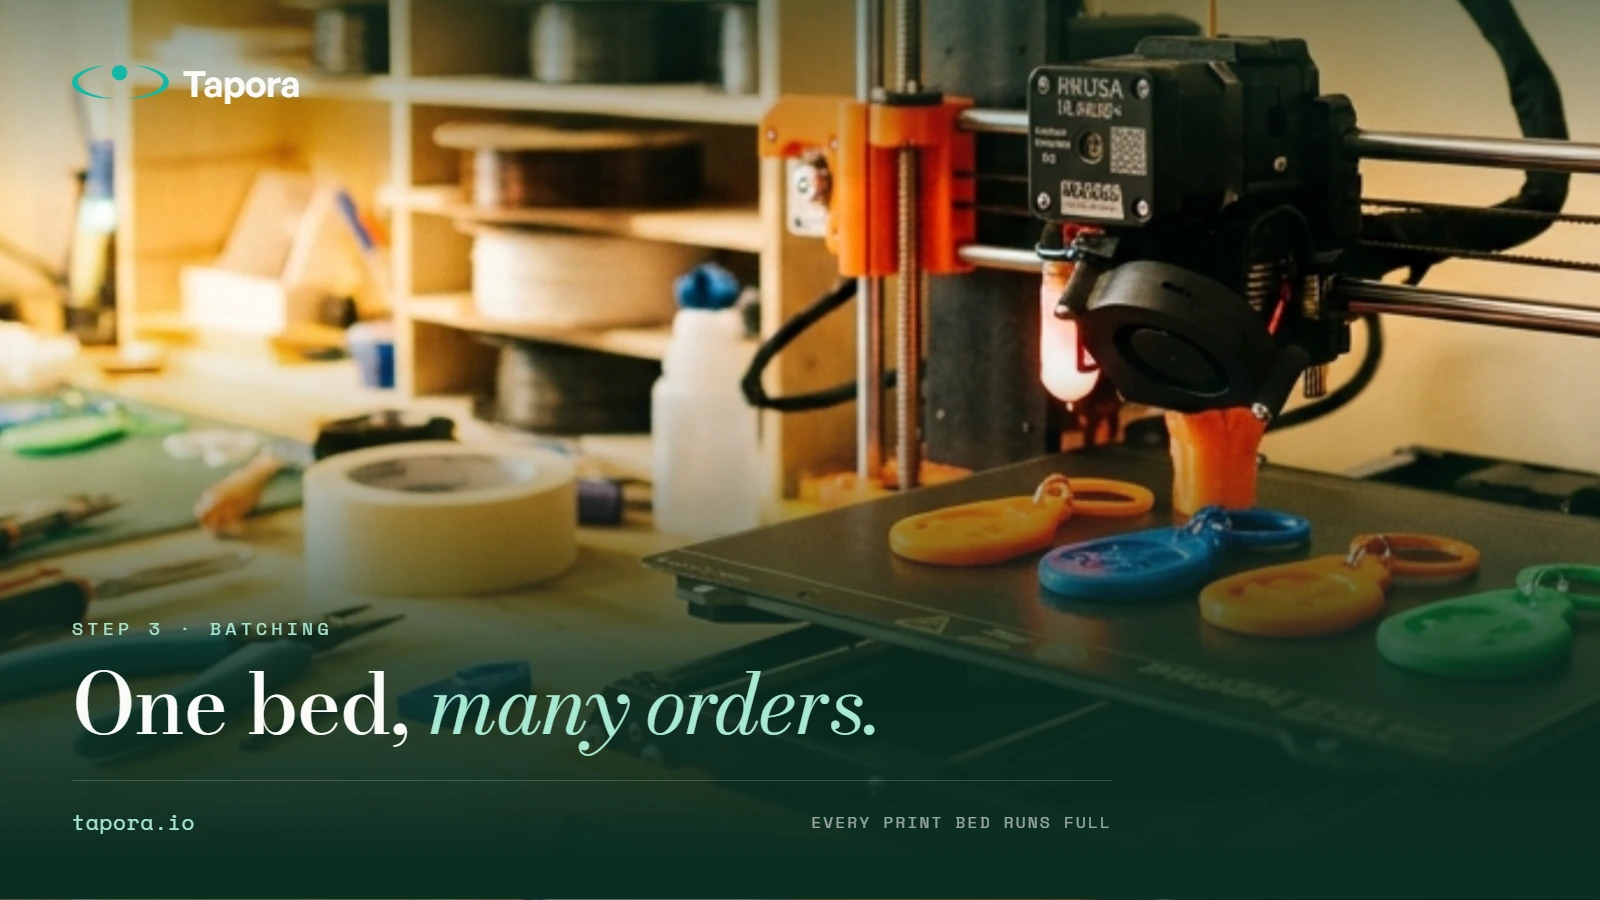
We don't print one keychain per print bed — that would waste hours of machine time. Our queue groups your job with other orders that share the same base colour and print parameters, packing up to dozens of units onto a single bed. This is why we can offer competitive pricing without holding inventory: every print is custom, every print bed is full.
Step 4: the actual print
The printer lays down the base colour for the first ~2mm of height, pauses at the colour-change layer, and we (or the automated multi-material system) swap to the logo colour. Print resumes, the logo layers go down, and the keychain finishes as a single solid object with the logo printed into it — not stuck on top.
Step 5: NFC chip insertion
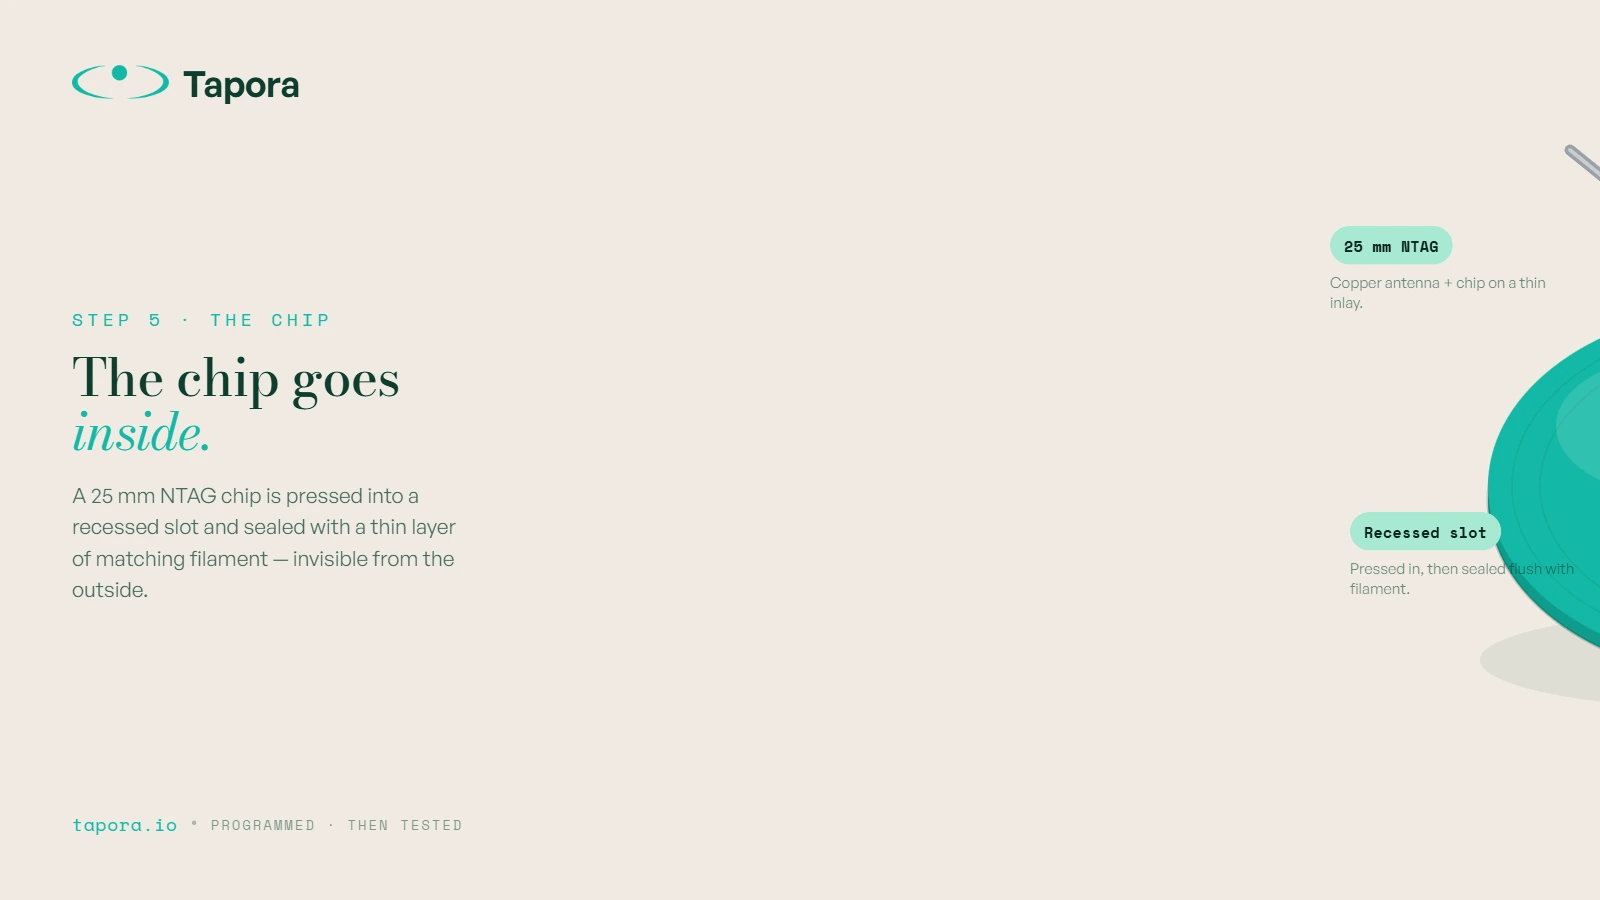
Each keychain has a recessed slot designed to fit a 25mm NTAG NFC chip. The chip is pressed in and sealed with a thin layer of matching filament. From the outside it's invisible. The chip is then programmed with a unique short URL pointing to tap.tapora.io/<your-code>.
Step 6: QR code print
The same URL is encoded as a QR code and printed on the underside of the keychain — the redundancy that means even an old phone, or a guest who's never tapped a tag, can still reach your link.
Step 7: claim email + shipping
Your order ships with a claim email containing the short codes for each unit. You click, you sign in, you point each code at whatever URL you want — a menu, a vCard, a review page. The keychain is in the post; the destination is already in your control.
Why on-demand beats inventory
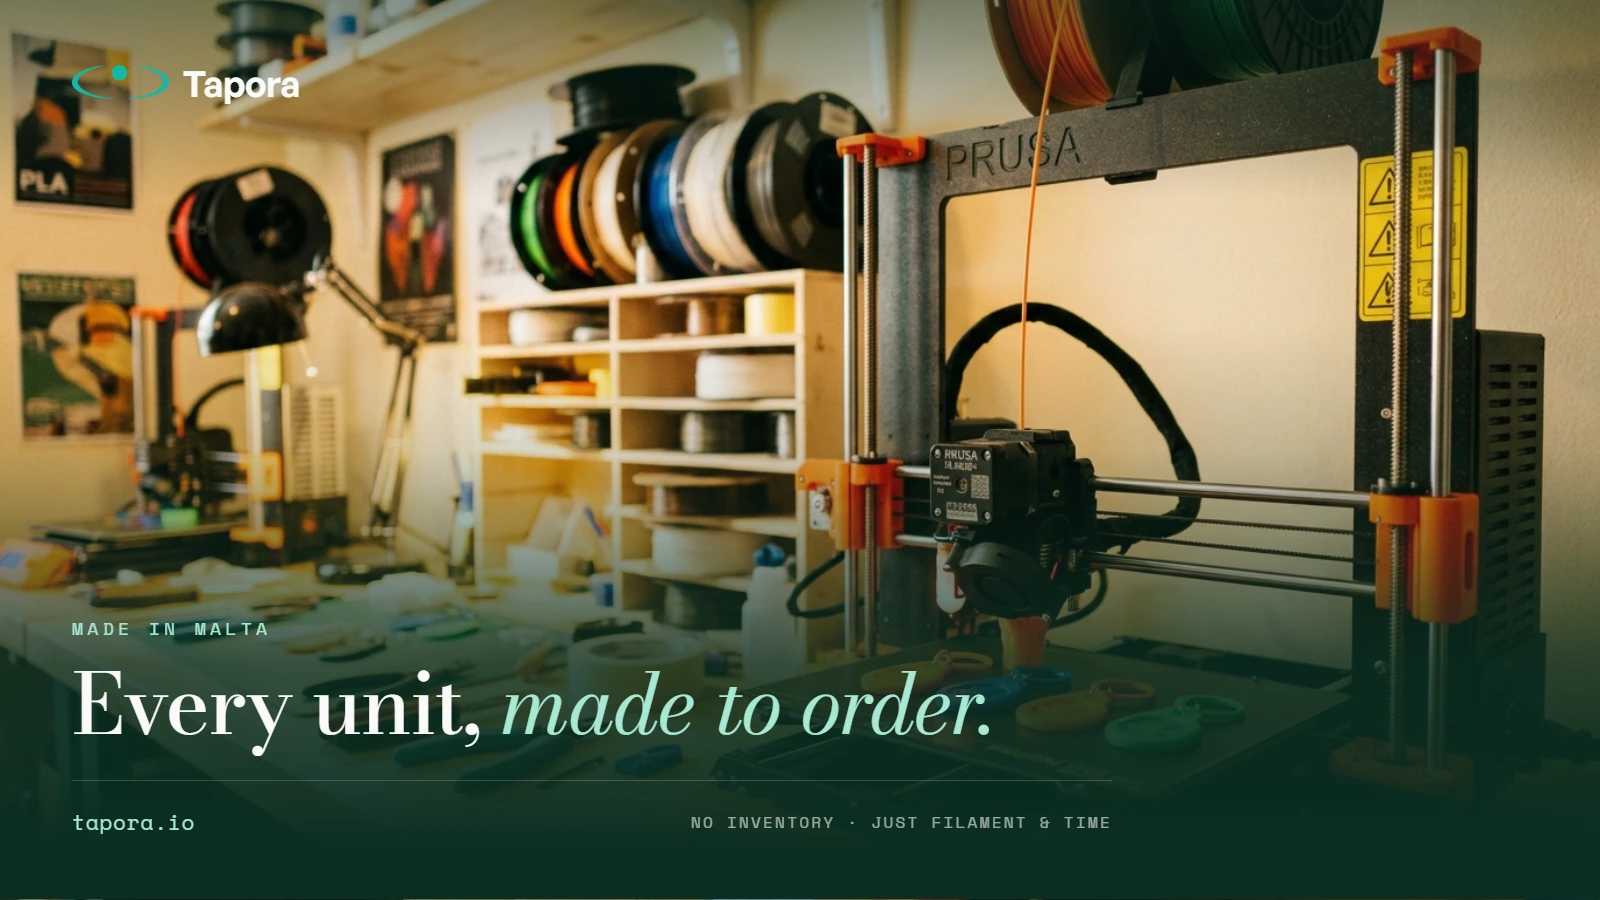
Traditional NFC product companies hold stock — which means fixed colours, fixed designs, and a warehouse full of items that might not sell. We hold filament, profiles, and printer time. Every unit that comes off the bed has a buyer. It's why we can offer custom logos at the same price as catalogue designs.
What can go wrong (and what we check for)
- <strong>Logo too thin</strong> — strokes under 0.8mm don't print cleanly. We flag uploads automatically and ask for revisions.
- <strong>Colour contrast too low</strong> — beige-on-cream looks great on screen, invisible at 30mm. We surface low-contrast warnings in the configurator.
- <strong>Chip read failure</strong> — every unit is tested with a reference phone before it leaves the workshop. Failed reads (rare) get reprinted, not shipped.
Wrap-up
On-demand manufacturing only works if every stage of the pipeline is automated and quality-checked. We've spent two years building exactly that pipeline: configurator → STL merge → slicer → batch queue → print → chip → test → ship. The product you tap on your keys took about an hour of machine time and a lot longer to engineer.
Continue reading
Guides
One Link, Many Destinations: Using Redirect Kinds to Run Campaigns
The smartest thing you can do with an NFC tag is not hardcode the destination. Tapora links don't point to your final URL — they point to a short URL you control, which means the same physical tag can route to a menu in January, a Valentine's promo in February, and a Google re…
Guides
Shipping From Malta to the EU and Beyond: What to Expect
Tapora prints and ships every order from Malta. For customers in Malta itself, that means next-day delivery. For the EU, it usually means 3–5 working days. For the rest of the world, it depends — and this post explains exactly what to expect, what we charge, and how customs ar…
Guides
Designing an SVG Logo That Prints Cleanly at 30mm
A logo that looks great on a business card can disappear entirely on a 30mm keychain. Two-colour 3D printing has physical constraints that vector design doesn't — stroke widths, minimum feature sizes, and contrast all matter differently. This guide covers how to design (or fix…